
📖 Complete Minecraft Beginner's Guide
Last updated: July 10, 2026
Every essential crafting recipe with pictures — tools, armor, shelter, food, smelting, mining, and multiplayer basics for brand-new players.
Getting Started
Minecraft has two editions. Java Edition (Windows, Mac, Linux) has the biggest server community — you need it for Hypixel, Wynncraft, and most PC servers. Bedrock Edition (consoles, mobile, Windows) supports cross-play between those platforms.
Buy Java at minecraft.net — it includes a free Bedrock copy for Windows. Install the official Minecraft Launcher, sign in with your Microsoft account, and click Play. Choose Singleplayer to learn in your own world, or Multiplayer to join a server.
Set difficulty to Easy or Normal while learning. Peaceful mode removes all hostile mobs so you can practice crafting without fighting.
Controls
WASD moves your character. Space jumps, Shift sneaks (so you do not fall off edges), Ctrl sprints. The mouse controls where you look.
Left-click breaks blocks or attacks enemies. Right-click places blocks, eats food, or opens doors. Scroll to switch hotbar slots (the nine slots at the bottom of your screen).
Press E for inventory, T for chat (multiplayer), and F3 for debug info including coordinates (Java only).
Your first action in a new world: walk up to a tree and hold left-click on the trunk until it breaks. Pick up the log blocks that drop.
Your First Day Checklist
Follow this order on day one — every step maps to a recipe shown below.
1. Punch trees → craft planks → craft sticks → craft a crafting table 2. Craft a wooden pickaxe → mine cobblestone → craft stone tools 3. Craft a furnace → smelt any iron ore you find → upgrade to iron pickaxe 4. Craft torches and place them everywhere — mobs spawn in darkness 5. Build a small shelter with a door, chest, and bed before sunset 6. Kill animals for food, cook meat in the furnace, and plant wheat seeds
If you run out of time, dig into a hillside and seal the entrance. You can always improve your base on day two.
Crafting Basics
Every item in Minecraft is made on a crafting grid. Your inventory has a small 2×2 grid (press E). A crafting table unlocks the full 3×3 grid — craft one immediately.
The recipe book (green book icon in the crafting screen) shows what you can make with your current materials. On Java Edition, enable it in the crafting table UI if you do not see it.
Start with these three recipes — they unlock everything else.
Crafting Basics
Start here — turn logs into planks, make sticks, and build your first crafting table.
 ×4
×4Place one log anywhere in the 2×2 inventory grid.
 ×4
×4Two planks stacked vertically — used in almost every tool recipe.

Place on the ground and right-click for the full 3×3 crafting grid.
Wooden Tools
Craft a wooden pickaxe first so you can mine stone. Then make an axe (faster wood gathering), sword (combat), shovel (digging dirt/sand), and hoe (farming).
Wooden tools break quickly. As soon as you have cobblestone, upgrade every tool to stone.
Wooden Tools
Your first pickaxe, axe, sword, shovel, and hoe. Upgrade to stone as soon as you can.

Essential first tool — mine stone and ores.

Chops trees faster than punching.


Digs dirt, sand, and gravel quickly.

Tills dirt into farmland for crops.
Stone Tools
Stone tools use the exact same patterns as wooden tools — swap planks for cobblestone. Stone mines faster and lasts longer.
A stone pickaxe can mine iron ore, coal, copper, lapis, and redstone. It cannot mine gold, diamond, or emerald — you need iron for those.
Stone Tools
Mine cobblestone with a wooden pickaxe, then craft stone tools — twice as fast as wood.


Iron Tools
Mine iron ore with a stone pickaxe, smelt raw iron in a furnace (see Smelting below), then craft iron ingots into tools.
Iron pickaxes are the real milestone — they mine every ore in the Overworld. Craft a full iron tool set before going deep underground.
Iron Tools
Smelt iron ore first, then craft iron tools. Required for mining gold and diamond.

Required to mine gold, diamond, redstone, and emerald.


Shelter & Lighting Recipes
These blocks turn a hole in the ground into a safe home. Priority order: furnace (smelt ore and cook food), torches (stop mob spawns), chest (store items), door (controlled entry), bed (skip night + respawn point).
Place torches every 7 blocks in caves and inside your base. Mobs need light level 0 to spawn.
Shelter & Storage
Furnace, chest, torches, doors, beds, and other essentials for your first base.

Smelt ores, cook food, and make charcoal. Place fuel in the bottom slot.

Store items safely. Place two chests side-by-side for a double chest.

 ×4
×4Coal or charcoal above a stick. Torches stop mobs from spawning nearby.
 ×3
×3 ×3
×3Right-click to open. Keeps mobs out of your shelter.


Any wool color works. Sleep to skip night and set your respawn point.


Cooks food without a furnace. Emits smoke you can see from far away.
Combat, Armor & Ranged Weapons
Leather armor comes from cows — weak but easy early. Iron armor is the standard mid-game set and requires 24 iron ingots for a full set.
Craft a shield as soon as you have iron — it blocks skeleton arrows. Bows let you fight from a distance; kill chickens for feathers to craft arrows.
Combat & Armor
Bows, arrows, shields, and full armor sets to survive mobs and night raids.


 ×4
×4Kill chickens for feathers and gravel for flint.

Hold right-click to block skeleton arrows and reduce melee damage.


Kill cows for leather. Weak armor but better than nothing.


Full iron armor is the standard mid-game set for cave exploring.
Useful Utility Items
These are not urgent on day one but become essential as you explore.
Buckets carry water (essential for safe mining and mob farms), milk (clears poison and other effects), and lava. Shears collect wool from sheep without killing them. Flint and steel lights nether portals later.
Useful Items
Bucket, shears, flint and steel, and fishing rod — handy tools for exploration.

Carry water (lava farming), milk (clears effects), or lava.

Shear sheep for wool without killing them.

Light fires, open nether portals, and relight campfires.

Catch fish for food and occasionally treasure items.
Food & Farming
Break tall grass to collect wheat seeds. Plant seeds on tilled dirt (use a hoe) within four blocks of water. Wait for wheat to grow, harvest it, and craft bread — the easiest renewable food source.
Animals are faster early food. Kill cows, pigs, and chickens, then cook the raw meat in a furnace. Cooked food restores much more hunger.
Food Recipes
Craft bread from wheat and cook raw meat in a furnace for better hunger recovery.


Farm wheat by breaking tall grass for seeds, then planting near water.
Smelting in a Furnace
Place a furnace, put fuel (coal, charcoal, or logs) in the bottom slot, and put the item to smelt in the top slot. Each ore and raw food item needs smelting before use.
Charcoal is a coal substitute — smelt logs if you cannot find coal ore on the surface.
Furnace Recipes
Put the input in the top slot and fuel (coal, charcoal, or logs) in the bottom slot.


Mine iron ore with a stone pickaxe or better. Each ore drops raw iron.


Requires an iron pickaxe to mine gold ore.


Cooked meat restores much more hunger than raw.


Find sand on beaches and in deserts.


Works as coal for torches if you cannot find coal ore.
Mining & Ores
Dig a staircase down instead of straight below you — lava pools and gravel falls can kill unprepared players. Always carry torches, food, a spare pickaxe, and wood for emergency crafting.
Use the wrong pickaxe tier and the ore breaks without dropping anything. Check the minimum pickaxe for each ore below.
Press F3 (Java) to see your Y coordinate. Diamonds are most common around Y -59 in modern versions.

Coal
- Min pickaxe:
- Wooden Pickaxe
- Depth:
- Surface to underground
- Use:
- Torches and smelting fuel

Copper
- Min pickaxe:
- Stone Pickaxe
- Depth:
- Underground
- Use:
- Lightning rods, spyglass, building

Iron
- Min pickaxe:
- Stone Pickaxe
- Depth:
- Y 64 down to deep underground
- Use:
- Tools, armor, anvils — smelt raw iron first

Gold
- Min pickaxe:
- Iron Pickaxe
- Depth:
- Badlands and deep underground
- Use:
- Golden apples, powered rails, piglin trading

Diamond
- Min pickaxe:
- Iron Pickaxe
- Depth:
- Around Y -59 (deep underground)
- Use:
- Best vanilla tools and armor
Hostile Mobs
These mobs spawn in dark areas at night or underground. Light up your base and caves to prevent spawns.
Combat tips: strafe sideways while fighting, never let creepers get close, and sprint-hit (sprint + attack) to knock enemies back. Wear your best armor whenever you leave your base.

Zombie
Slow but dangerous in groups. Burn in sunlight. Drops rotten flesh.

Skeleton
Shoots arrows from range. Strafe side-to-side and use a shield.

Creeper
Hisses before exploding. Back away or knock it back with a sprint-hit.

Spider
Fast and climbs walls. Can see you through walls at night.
Animals & Food Sources
Passive mobs spawn in the Overworld during the day. They do not attack you.
Breed animals by feeding them their preferred food (wheat for cows and sheep, carrots for pigs, seeds for chickens) to create a renewable farm near your base.
Zombie
Slow but dangerous in groups. Burn in sunlight. Drops rotten flesh.
Skeleton
Shoots arrows from range. Strafe side-to-side and use a shield.
Creeper
Hisses before exploding. Back away or knock it back with a sprint-hit.
Spider
Fast and climbs walls. Can see you through walls at night.

Cow
Kill for beef or breed with wheat. Safe food source for beginners.

Pig
Drops porkchops. Breed with carrots, potatoes, or beetroots.

Sheep
Shear for wool (beds!) or kill for mutton. Dye wool any color.

Chicken
Drops feathers (arrows) and chicken. Also lays eggs over time.
Joining Multiplayer Servers
Click Multiplayer on the main menu, then Add Server. Enter the server IP (e.g. mc.hypixel.net) and make sure your game version matches.
Some servers prompt you to download a resource pack — click Yes for official servers. You will spawn in a lobby; use signs, NPCs, or /help to find game modes.
Check our server directory for IPs, codes, tier lists, and server-specific beginner guides.
Choosing a Server
Pick based on what you want to play, not just popularity.
Minigames for quick arcade fun, Skyblock for island progression, Survival SMP for community building, PvP/Factions for combat, Prison for rank-up grinding, RPG servers for quests and classes, Modded for tech and magic modpacks.
Using BlockPatch
BlockPatch lists verified server codes, meta tier lists, and per-server beginner guides. After learning vanilla basics here, read the guide for whichever server you join.
Use Ctrl+K to search, save favorites for quick access, and check the status page if you cannot connect.
Where to Go Next
You now have every essential vanilla recipe. Practice in single-player until stone/iron tools feel natural, then join a multiplayer server.
Popular starting points: Hypixel (minigames + Skyblock), Wynncraft (RPG), Donut SMP (economy survival), All the Mods 10 (modded). Each has a full guide on BlockPatch.
Recommended Starting Servers
Pick a server, then read its dedicated guide for server-specific tips
 100K+
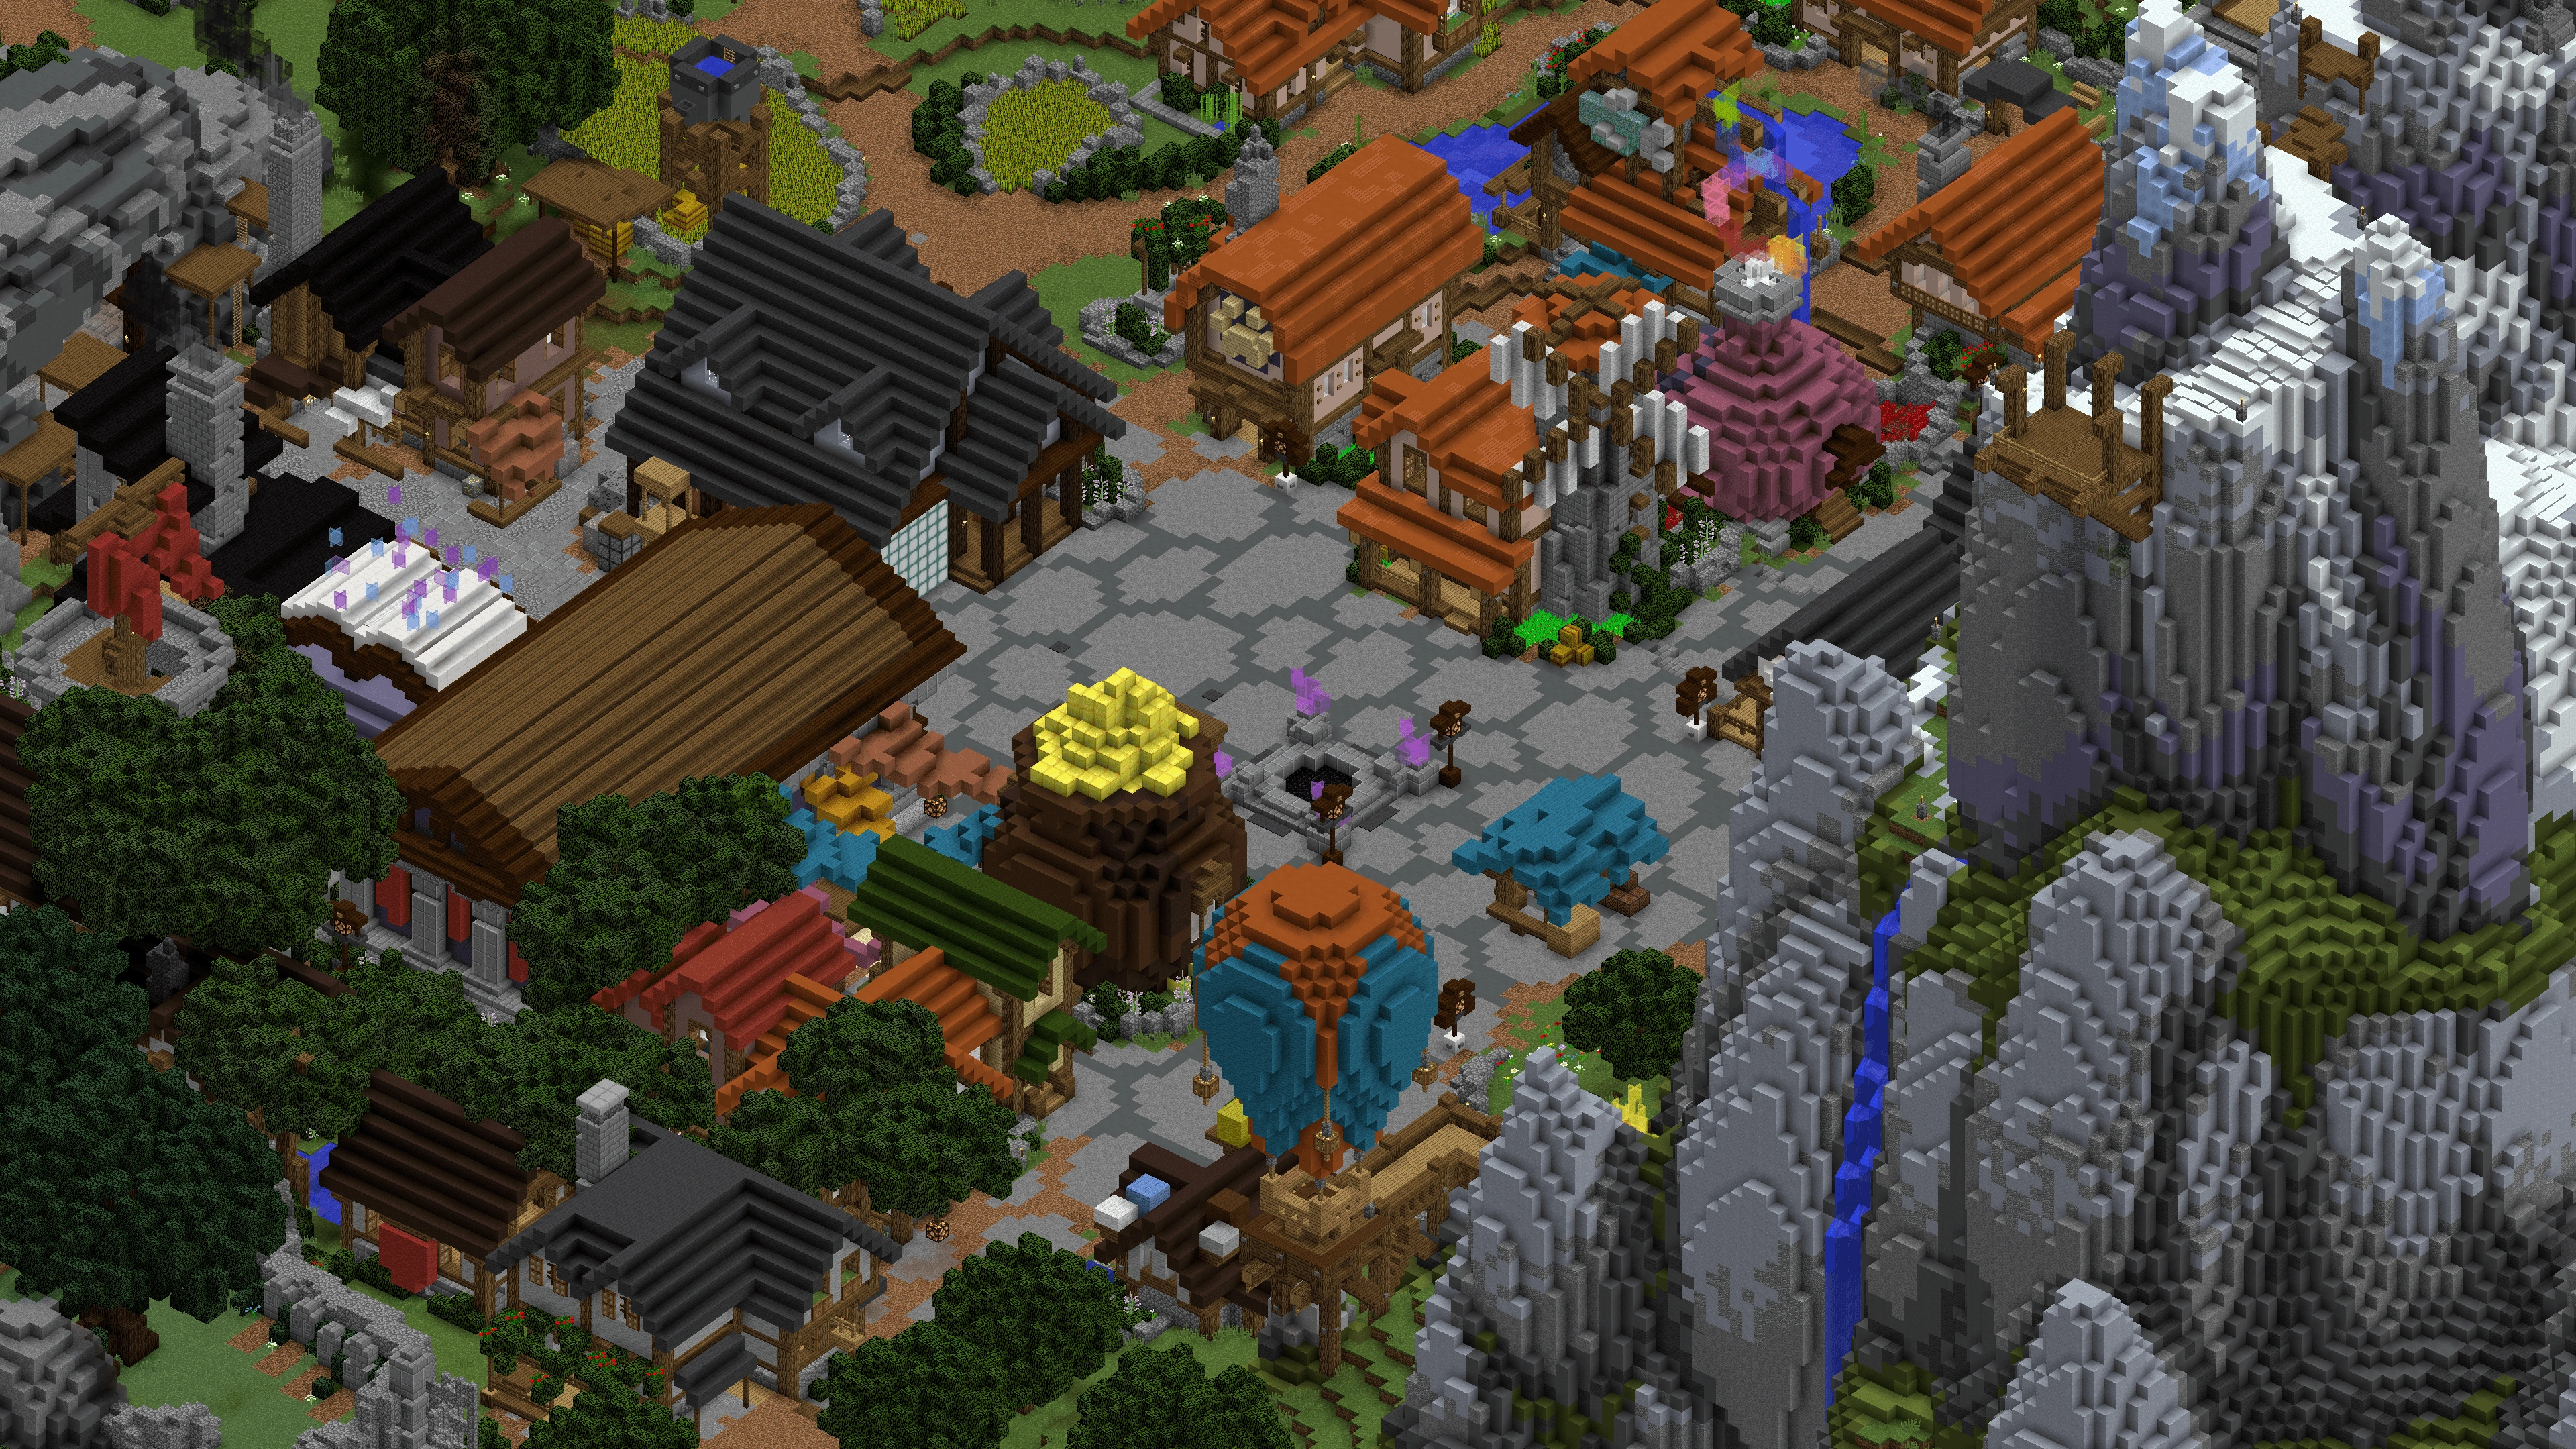
100K+Hypixel
The largest Minecraft minigame network — Skyblock, Bedwars, Skywars, and dozens of arcade modes.
 Codes
Codes Tier List
 Guide
Guide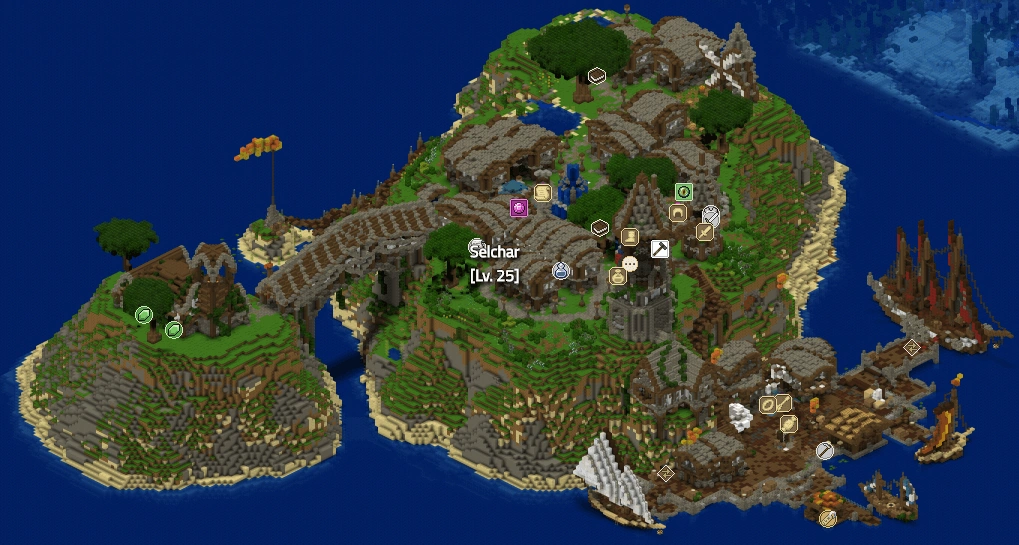 10K+
10K+Wynncraft
Massive MMORPG adventure with quests, classes, dungeons, and a huge open world.
 50K+
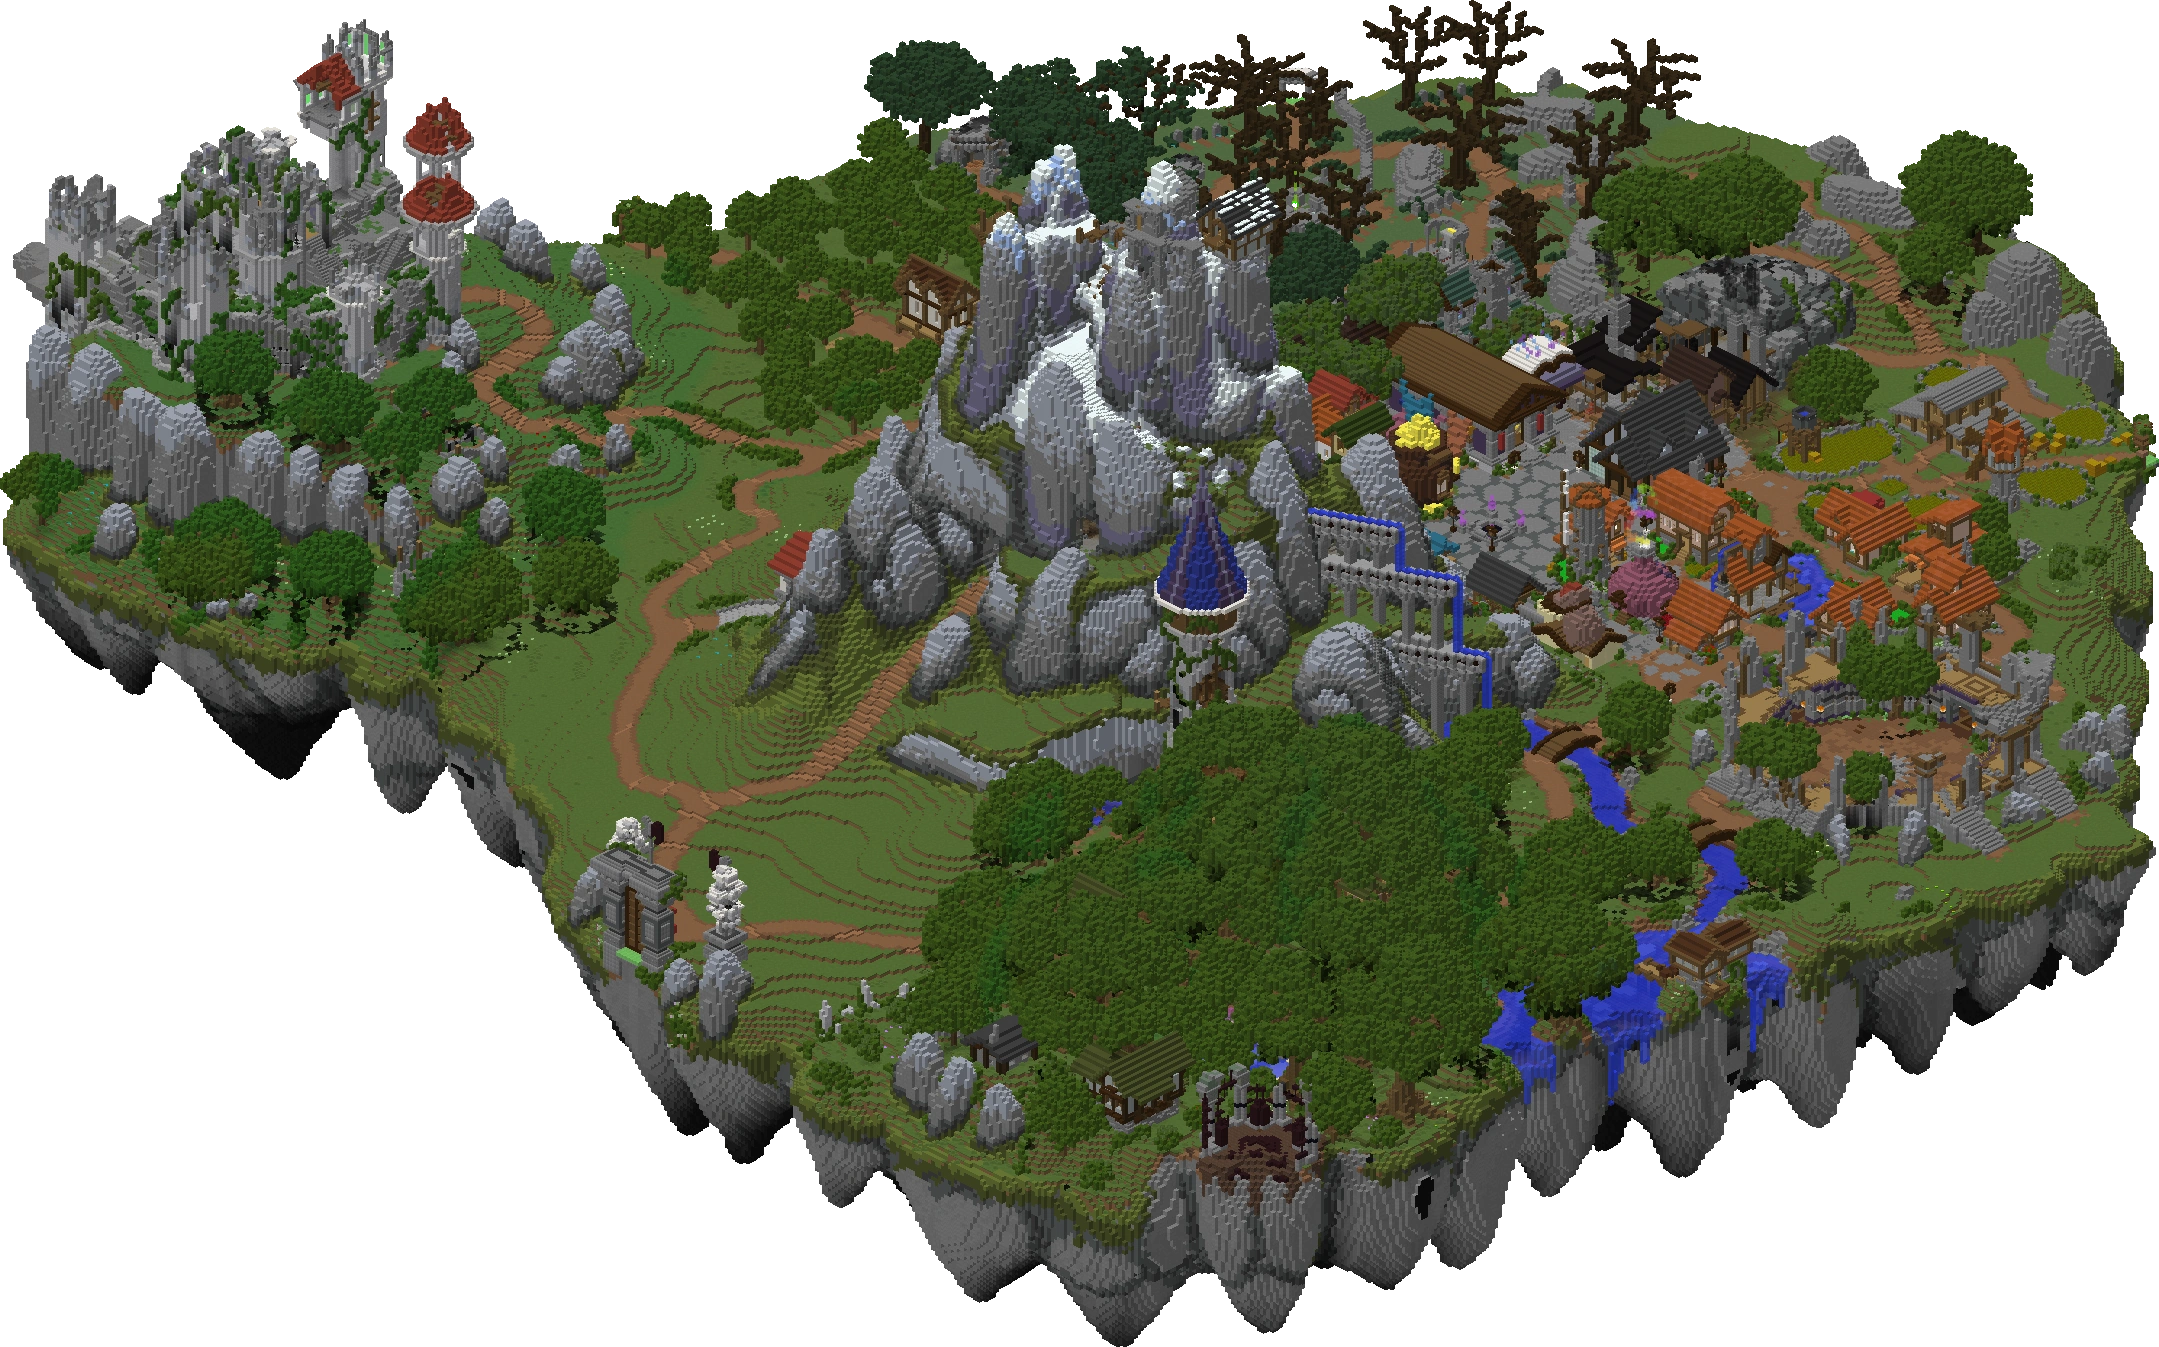
50K+Donut SMP
Hardcore economy SMP with player shops, auctions, and a thriving trading community.
 N/A
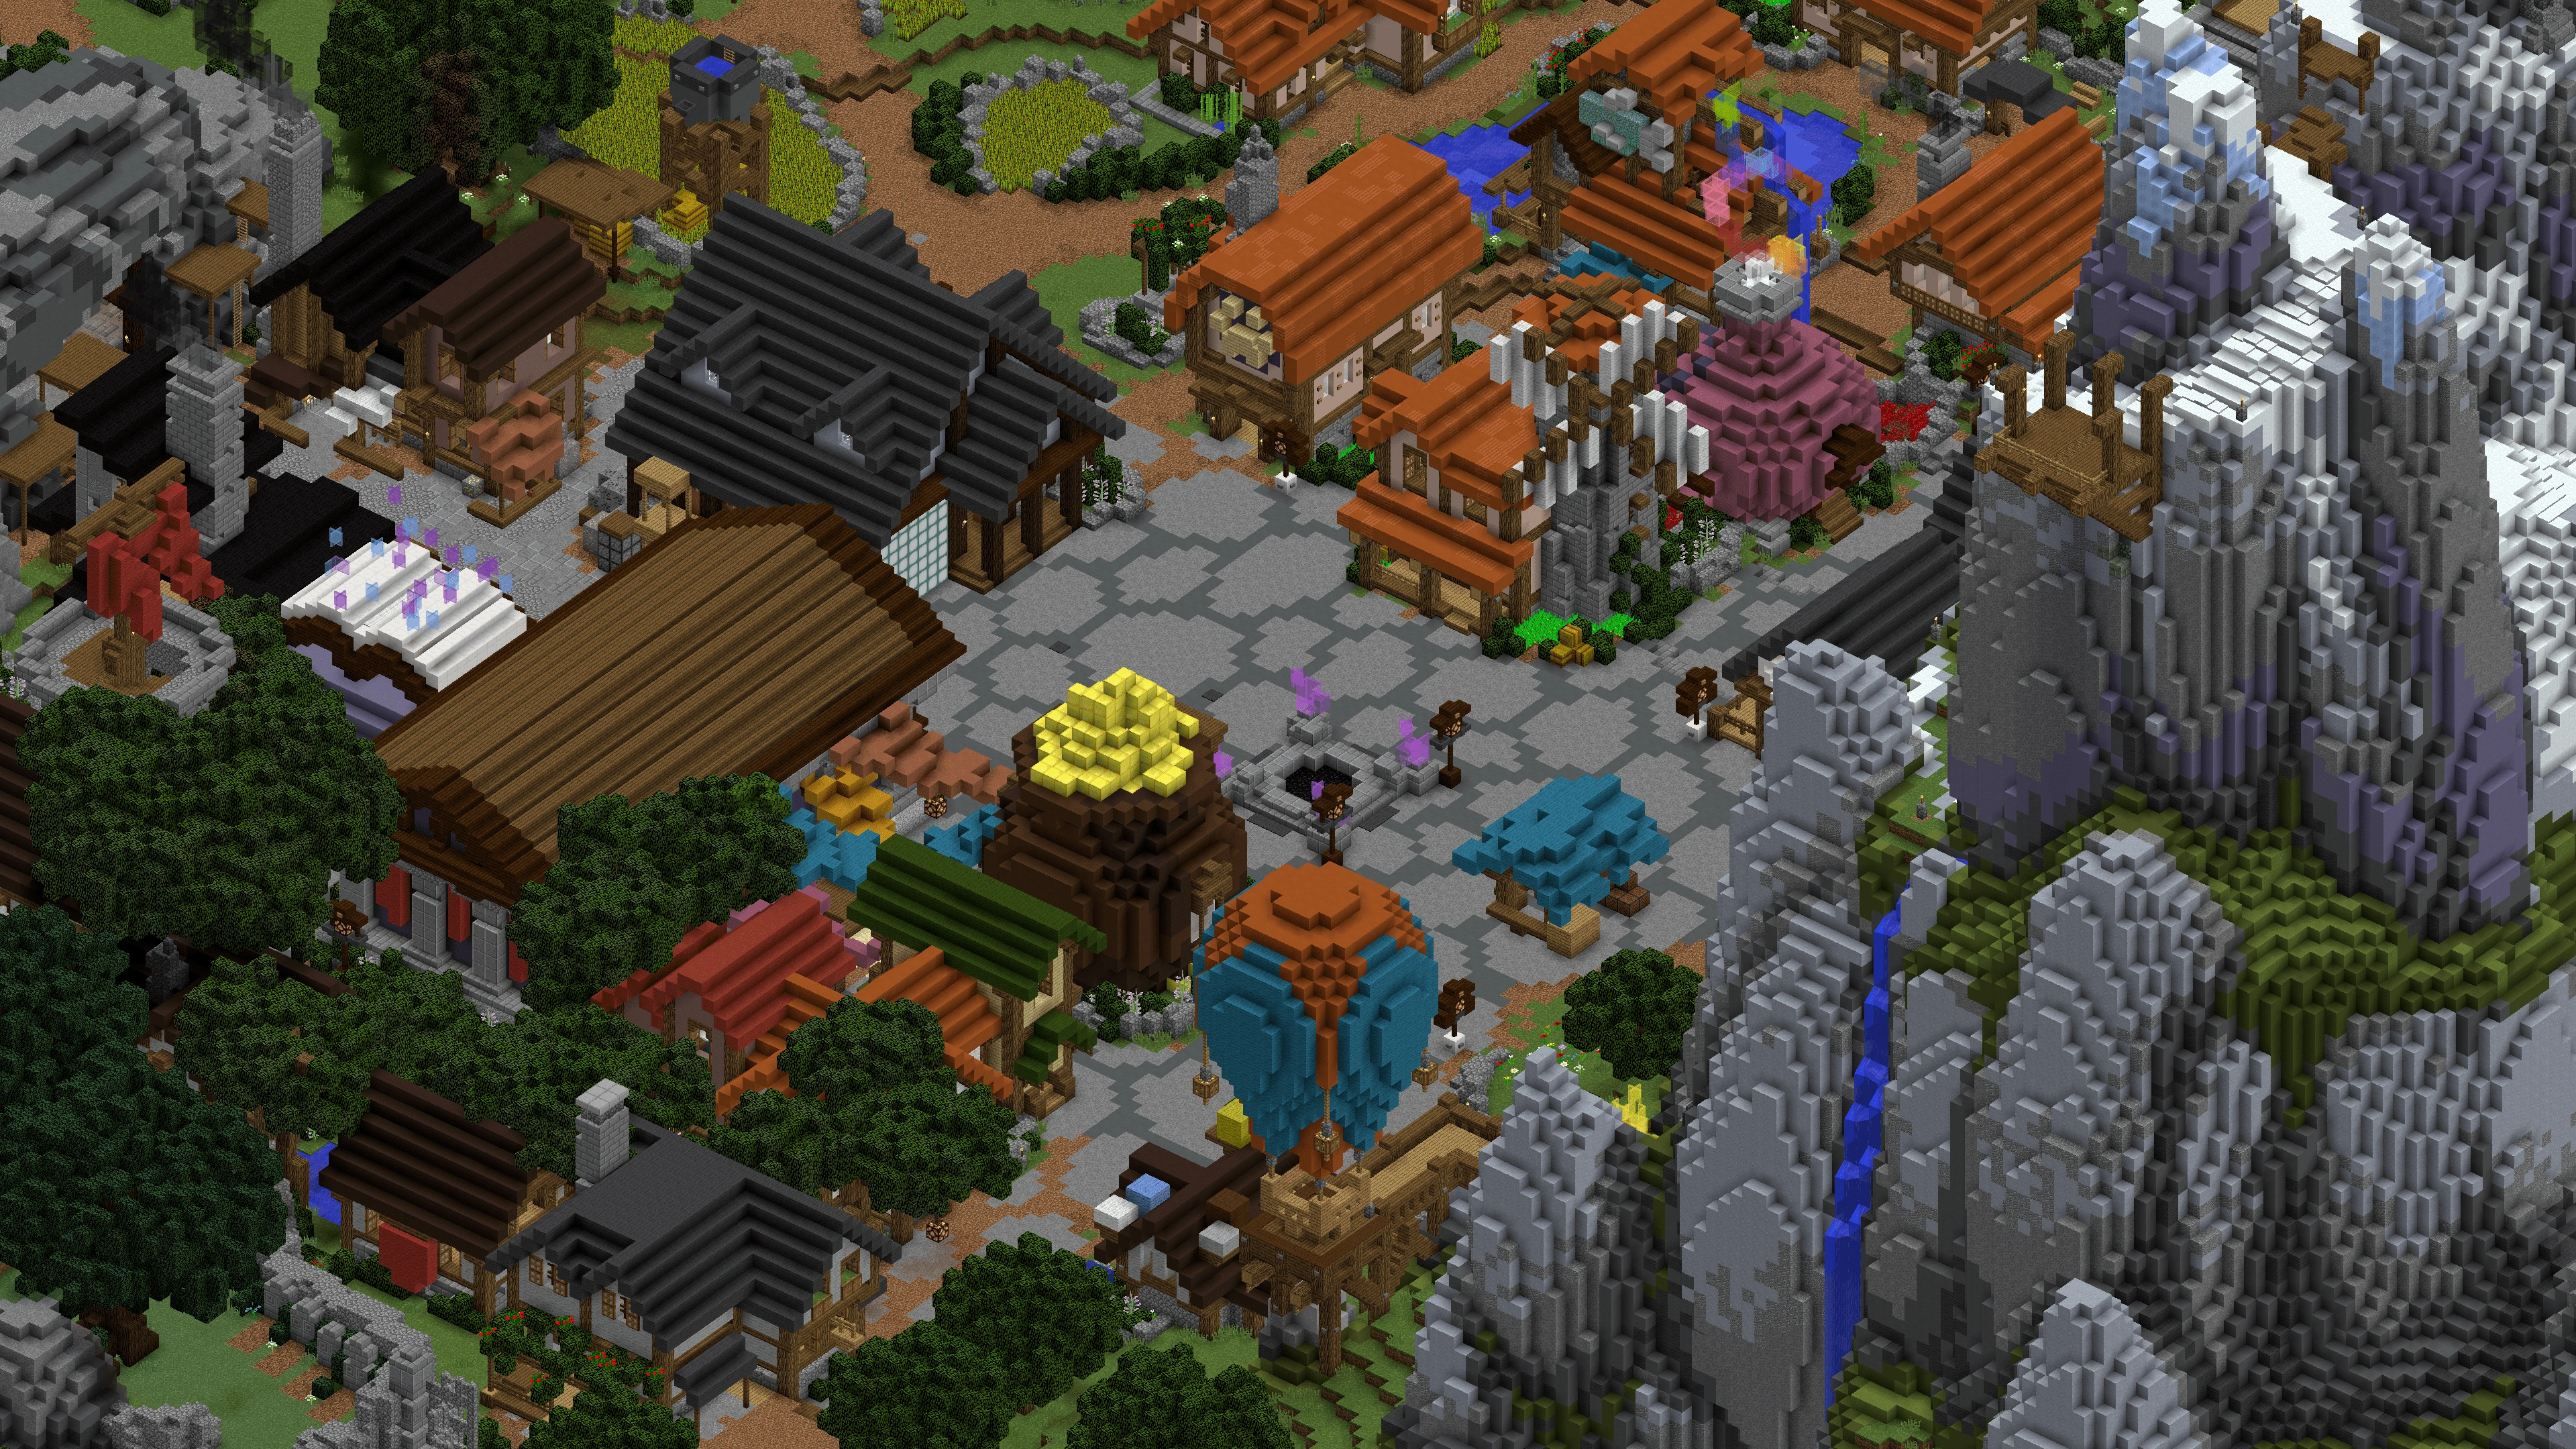
N/AAll the Mods 10
Kitchen-sink modpack with 400+ mods — tech, magic, exploration, and automation.
Ready for server-specific tips? Browse our full server directory — every server has codes, tier lists, and a beginner guide.